Introduction
Flappy Bird was a side scrolling game developed by Dong Nguyen. Even though the game is based on 2D Graphics, it became quite popular on both Android and iOS platforms. The aim of the game is simple, try to fly the bird, which is called “Faby”, between the green pipes without hitting them. The popularity of the lead to many replica games and cloned versions were released. In this project, I will take the concept of the game and implement a DIY type Flappy Bird Game using Arduino. Since Arduino is a simple microcontroller platform, I don’t want to invest heavily into the project and implement the Flappy Bird Game using Arduino, 16×2 LCD Display and a Push Button. NOTE: If you are interested and willing to go further, you can implement a colorful version of the Flappy Bird Game using Arduino along with a 1.8” Color Display and a few special graphics related libraries for Arduino.
Concept of Flappy Bird Game using Arduino
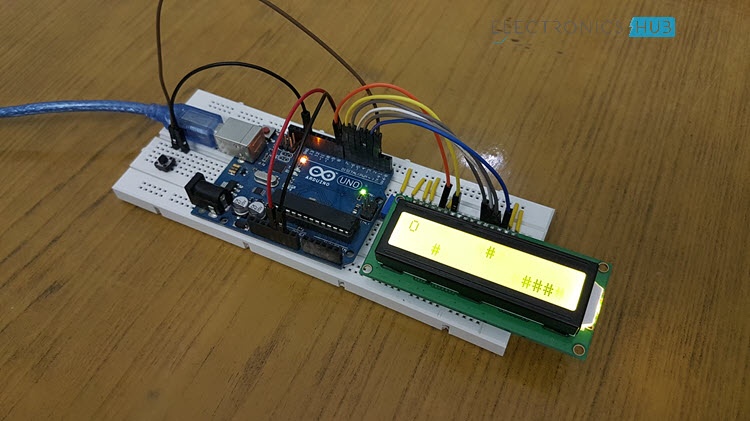
The main concept of the Flappy Bird Game using Arduino is very simple. I have replicated the bird with the character “0” and the obstacles with s string of the character “#”. Actually, I have made two such strings with different combinations of the character “#”, one for the top row and the other for bottom row. The aim of the game is to successfully pass the “bird” through these “obstacles” simply by pushing the button. NOTE: Before proceeding further, the concept of “Interrupts” in Arduino is very essential to implement this project. So, I suggest you to go through this simple Arduino Interrupts Tutorial, where you can easily understand how to use Interrupts on Arduino.
Circuit Diagram
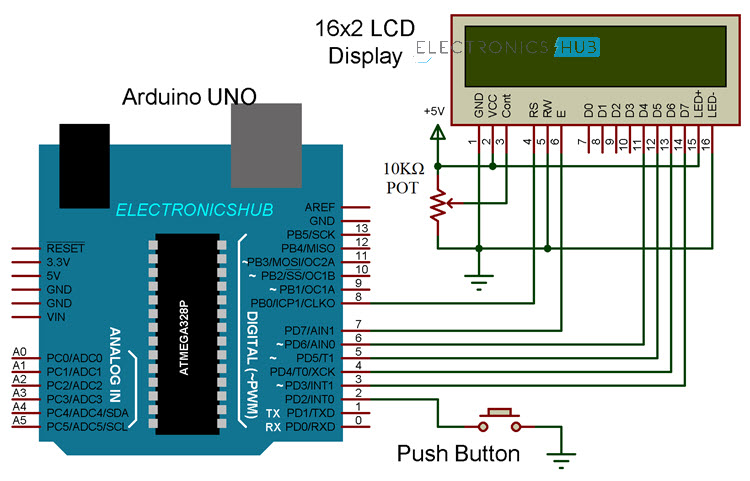
The circuit diagram of the project DIY Flappy Bird Game using Arduino is shown in the following image.
Components Required
Arduino UNO 16×2 LCD Display Push Button Connecting Wires Breadboard 5V Power Supply
Circuit Design
From the circuit diagram and the list of the components required, you can get an idea of how simple the implementation of the project is. All you need is to interface a 16×2 LCD display with Arduino UNO and also add an Interrupt Button. Coming to the 16×2 LCD Display, connect its RS and E pins to Digital I/O Pins 8 and 7 of Arduino UNO. The Data Pins D4 – D7 are connected to 6, 5, 4 and 3 Pins of Arduino. A 10KΩ POT is connected to adjust the contrast of the 16×2 LCD Display. All other connections are clearly mentioned in the circuit diagram. A Push Button is connected between Pin 2 and GND.
Code
The code for the project Flappy Bird Game using Arduino is given below.
Working of Flappy Bird Game using Arduino
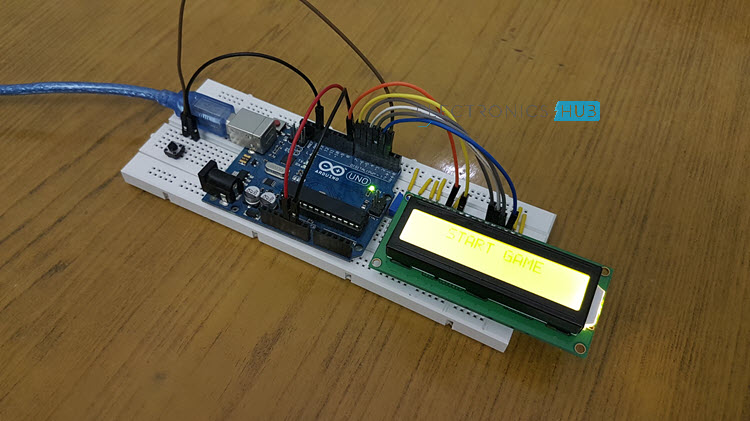
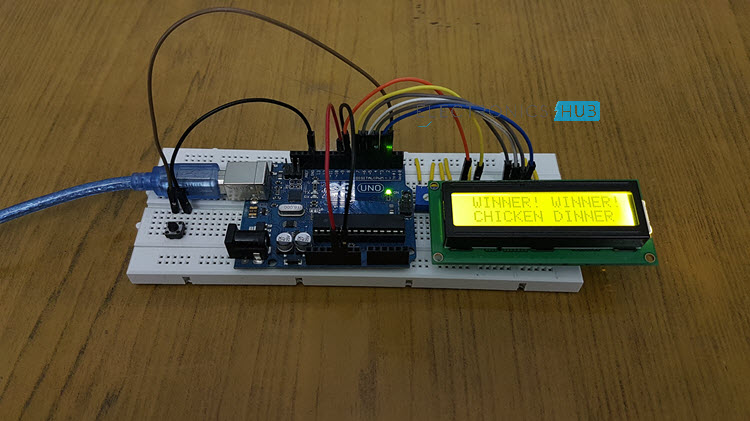
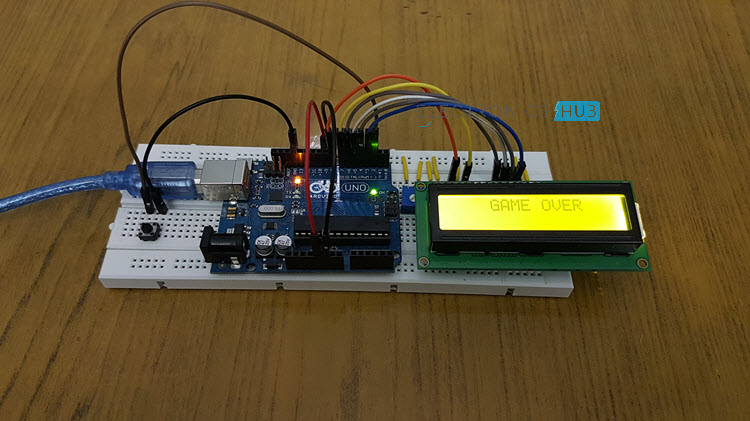
After making all the connections as per the circuit diagram, upload the code to Arduino and power on the circuit. The moment you turn on the power supply, the game begins by displaying “START GAME” on the LCD. Once the game starts, the Flappy Bird can be toggled its position using the interrupts pin with the help of the push button. If the bird is in the top, by pressing the button, you can move it to down and vice – versa. If the bird touches any of the obstacles, you will lose and the game is over. Since this is a simple version of the game, there are only a few obstacles and if you successfully overcome all those obstacles, you will win the game.
Conclusion
A simple DIY style project where I have created a Flappy Bird Game using Arduino, 16×2 LCD Display and a push button. This doesn’t replicate the original Flappy Bird game but gives you an idea on how to implement a simple version on your own. Comment * Name * Email * Website
Δ




![]()